

Now, here is what you need to make your own!
Supplies: branches collected from dead trees
an old book you can cut up
bowl of water
hot glue gun and glue
twine
seed beads
scissors and exacto knife
I headed out to one of our local parks to collect my branches. I only selected branches that were dead and laying on the ground so no living trees were destroyed in the process. ;-) I chose branches that had a nice, gentle curve to them. I liked the fact that one branch even had a couple of dead leaves still attached.
Arrange the branches in the manner you would like in the shape you want. My wreath is in an asymmetrical shape. I like to try new things and a deviation from the round wreath is a nice change.

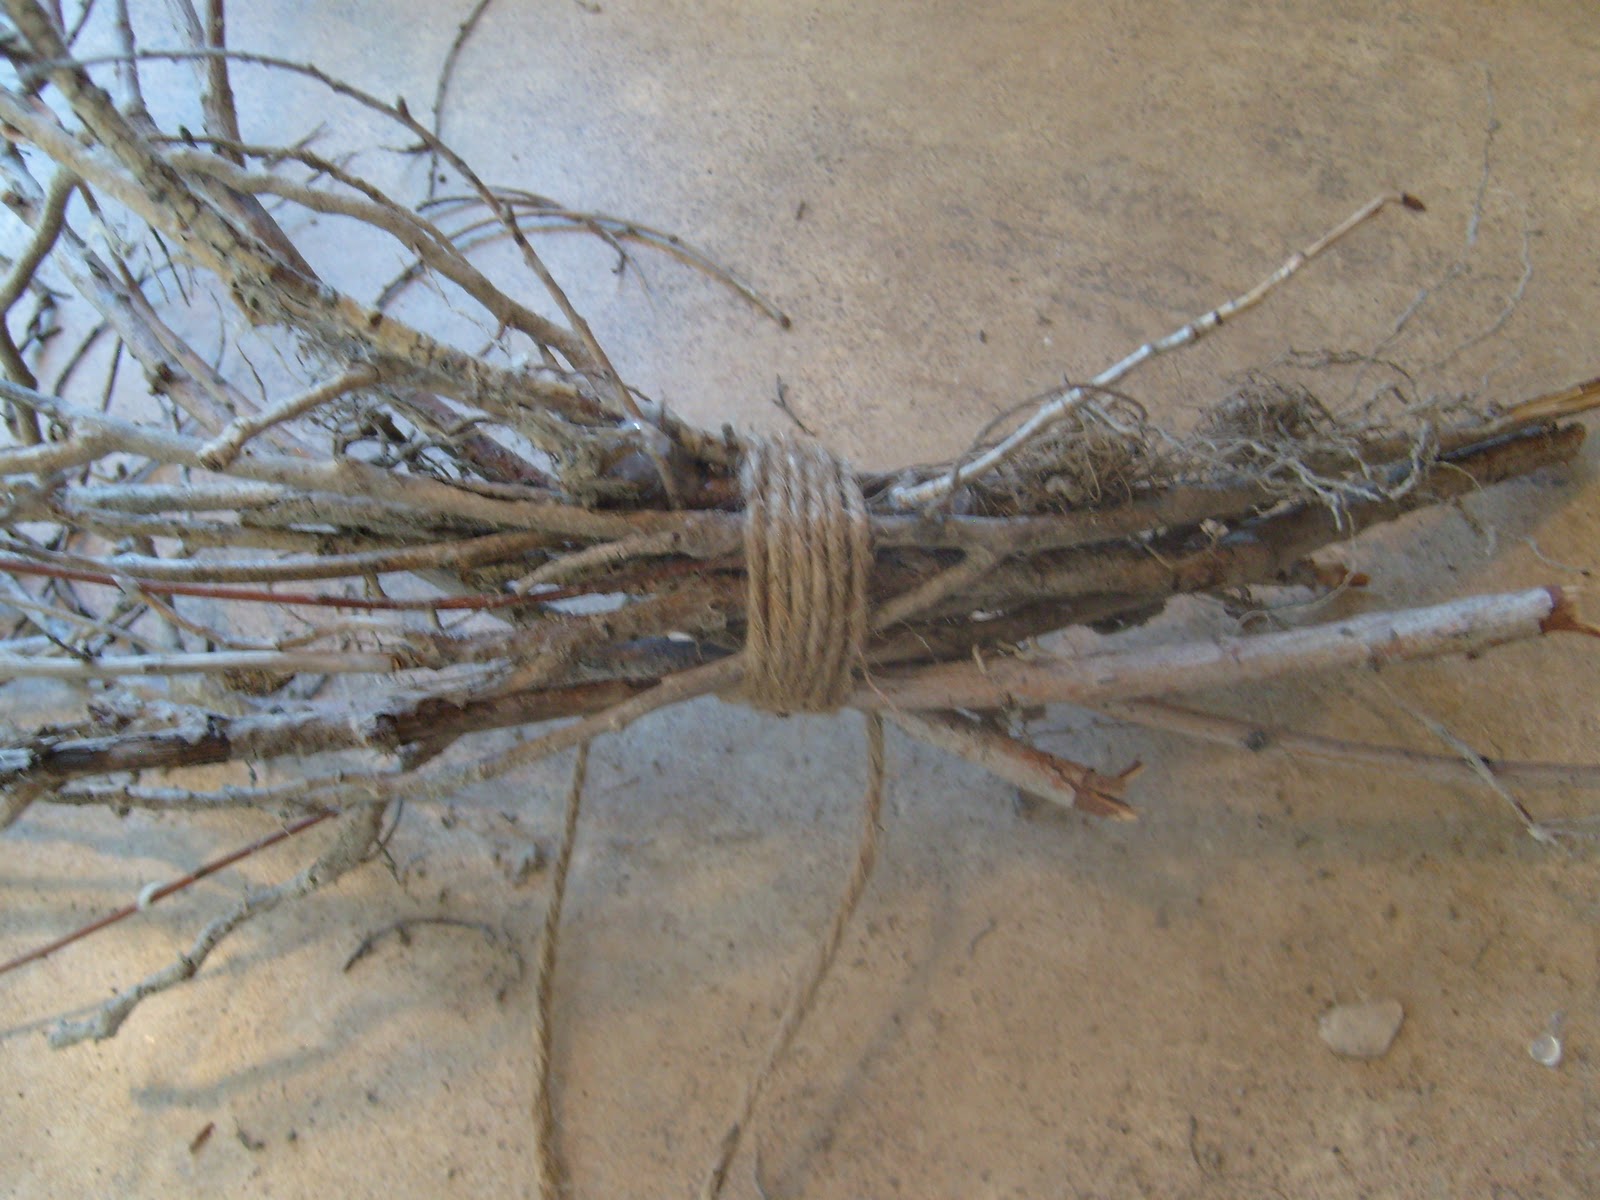
Once you like the way the bundle looks, secure the branches with some twine. You may also need to add some hot glue it the twine is not enough.
Next, take your old book and remove several of the pages either with an exacto knife or by tearing. Be careful if you choose the exacto knife method so you don't get cut.

Cut several random shapes that only need to resemble a circle. The less perfect the better. I cut 4 different sizes so I had a nice variety to choose from. The number will depend on how many flowers you want to make. I would cut out at least 12 of each shape and size. Since they don't have to match, you can cut several out at once by stacking the paper.

Next, soak the cut flowers in a bowl of water just for a few seconds until they feel less stiff. My paper was old and thicker with a lot of binders in it so I soaked it for about 15 seconds. If your paper is thin, you may only need to get it wet for a second or two.

When taking out the flower, crumple it up to gently squeeze the excess water out.

Un-crumple them but don't flatten them and leave them out to dry. This gives them some nice, aged dimension.

Place a dot of hot glue in the center of a large petal then layer with a smaller petal, another dot of glue then another small petal.

The glue is hot so I use the end of a pencil to press the centers together

Add another drop of glue to the center of the top petal and drop in some seed beads.

Arrange the flowers on the wreath. Clusters of odd numbers work the best. Use hot glue to secure the flowers to the twigs. If you want, you can trail some flowers down the extra twine, if not, just trim the ends of the twine

So, what do you think? I love this wreath. Unfortunately, the pictures don't do the beauty of these flowers justice.

You have to try this!
ohh that is cute! I never would have thought of something like that!
ReplyDelete